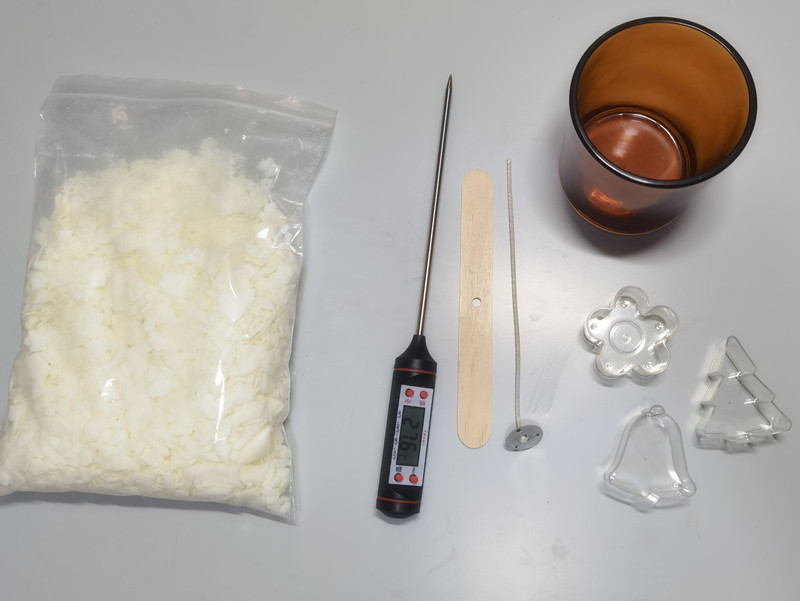
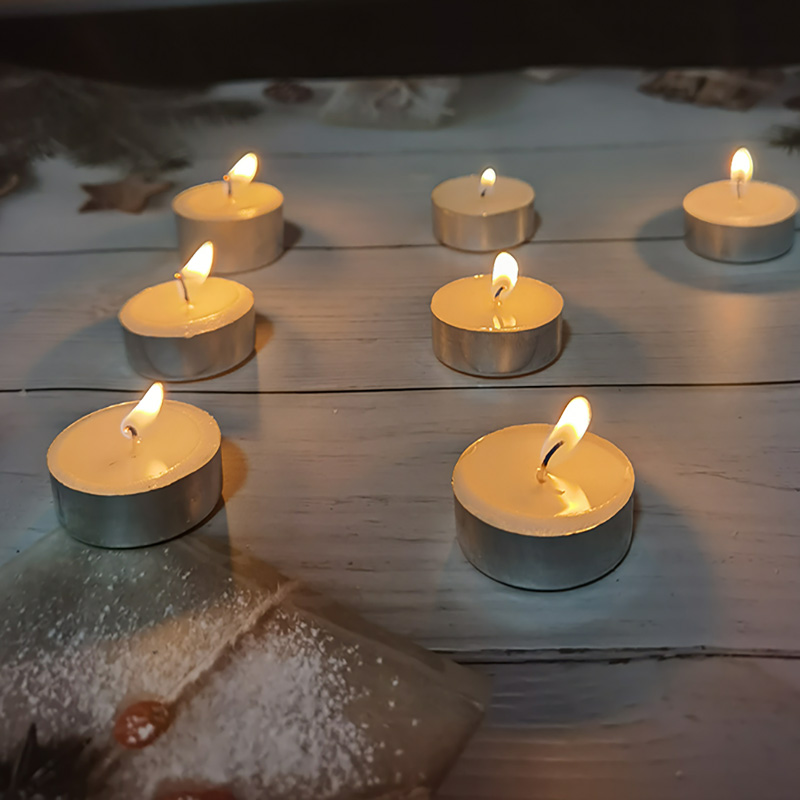
Work Steps for Reference:
1. Prepare Your Workspace:
- Ensure your workspace is clean and free of any debris.
- Lay out newspapers or a disposable tablecloth to protect your surface.
2. Prepare the Cups with different size or as you need size
The tealight candle cup size is from 1hours to 8hrs burning time, the diameter is 3.8cm,and height is from 0.8cm to 2.5cm for different wax weight and burning time
- If your tealight cups do not already have a wick attached, use a wick sticker or a dab of hot glue to secure the wick to the bottom center of each cup. This ensures the wick stays centered as the wax sets.
3. Melt the Wax:
- Fill the bottom part of your double boiler with water and bring it to a simmer. Place your paraffin or beeswax or soy wax in the top part of the double boiler or in a heat-safe container that fits inside the pot.
- Melt the wax slowly, stirring occasionally. The ideal melting point for paraffin wax is around 160°F to 180°F (71°C to 82°C). Beeswax melts at a higher temperature, around 145°F to 150°F (63°C to 66°C).
- If you want colored candles, add a small amount of wax dye while the wax is melting and stir well until fully incorporated.
4. Pour the Wax:
- Carefully pour the wax into each tealight cup, filling it almost to the top but leaving a little space for the wax to settle.
- If you notice the wax settling after a few minutes, you may need to top up the cups with additional melted wax.
5. Let the Wax Cool:
- Allow the candles to cool completely at room temperature. This could take several hours depending on the thickness of the wax layer.
- For quicker cooling, you can place them in the refrigerator, but be cautious as sudden temperature changes might cause the wax to crack.
6. Trim the Wicks:
- Once the wax is fully set, trim the wicks to about 1/4 inch above the wax surface.
7. **Enjoy Your Candles:**
- Light your newly made tealight candles and enjoy the ambiance they provide!
Remember, safety is paramount when working with hot wax and open flames. Always supervise candles when they are lit and keep them away from flammable materials.


